 Yonder
Build your first ADS-B receiver
Start with a Raspberry Pi, a USB radio and a small antenna. Once aircraft appear on your local map, you can share those positions with Yonder.
1. Get the parts
- A Raspberry Pi 4 with a compatible USB-C power supply.
- A microSD card and a card reader for the computer you’ll use to write the software.
- A FlightAware Pro Stick Plus USB radio or another receiver that supports 1090 MHz ADS-B.
- A 1090 MHz antenna with a cable that fits your radio. The Pro Stick Plus takes an SMA male connector.
- An Ethernet cable or access to Wi-Fi near the receiver.
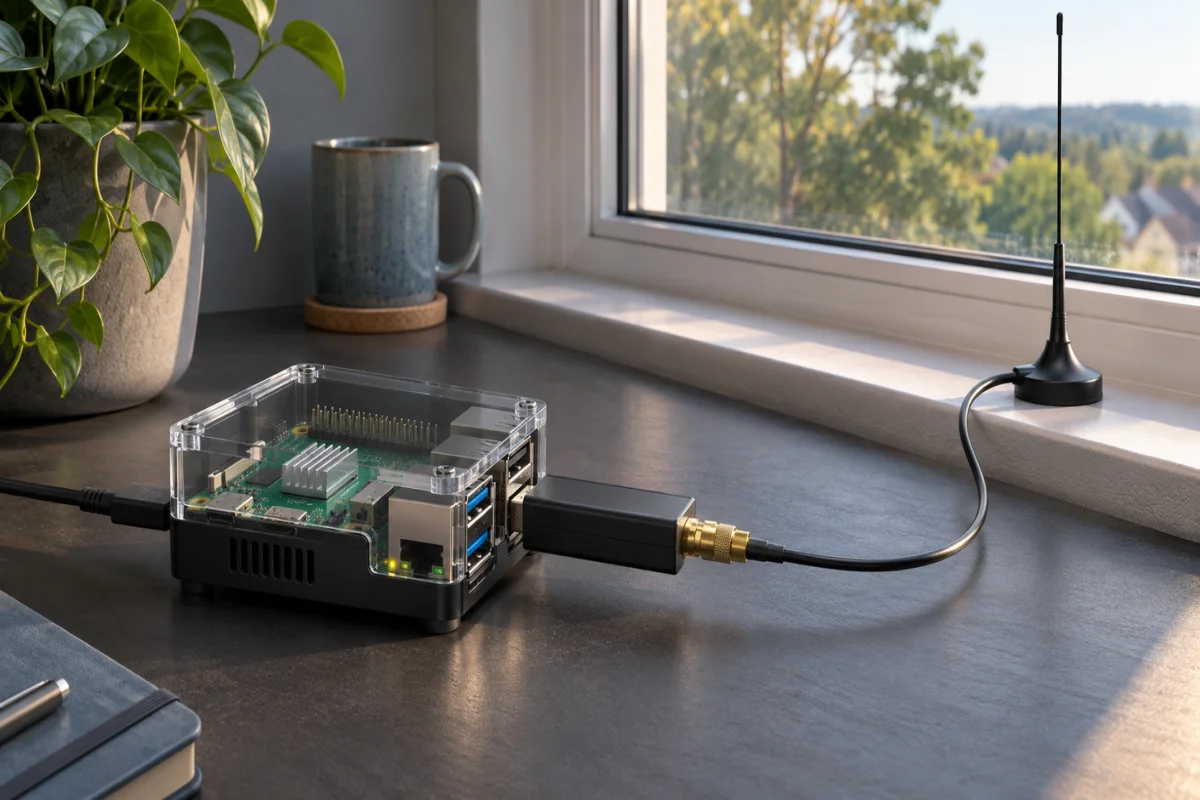
2. Install the software and plug everything in
- On your computer, use Raspberry Pi Imager to write the ADSB.im Feeder Image to your microSD card. Follow the ADSB.im quick start to select the image for your Pi.
- Insert the card into the Pi, connect the antenna to the USB radio, and plug the radio into the Pi. Place the antenna upright near a window with a clear view of the sky.
- Connect Ethernet and power on the Pi. For Wi-Fi, follow ADSB.im’s Wi-Fi setup.
- Open the feeder’s setup page from a device on the same network. Complete basic setup, assign the USB radio to ADS-B under Setup → SDR, and open the local live map to check that aircraft appear.
3. Connect to Yonder
Generate a station UUID by running uuidgen in a terminal on macOS or Linux. On Windows, run [guid]::NewGuid().ToString() in PowerShell. Save it and replace YOUR-STATION-UUID in the line below.
In your ADSB.im dashboard, open Setup → Expert. Add this line under Add additional Ultrafeeder arguments. Keep the semicolon at the end and leave any existing entries in place.
adsb,feed.skystackaviation.com,30004,beast_reduce_plus_out,uuid=YOUR-STATION-UUID;Apply the change, then confirm that aircraft still update on your local map. Your receiver connects out to Yonder over TCP port 30004. You can leave your router settings alone.